by Ana Morlier
Crazy Plant Lady: Years In Review
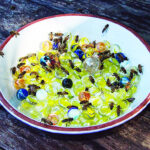
Hopefully, you’ve been able to enjoy all the chills (popsicles, delectable produce) and thrills (local carnivals, parades, and staying up waaaay past your regular bedtime) that summer has to offer, as well as the horror of discovering a pest invasion (or is that just me?). It is with a heavy heart that I report that I will be going on hiatus to focus on school. But before I go, I wanted to give you the inside scoop on my articles!
My first article was about the Christmas Cactus. I started writing for the Banner because my sibling used her culinary expertise to write an article for the previous month. As you can tell, I’m a tad competitive, so I entered the realm of writing to try and best her works.
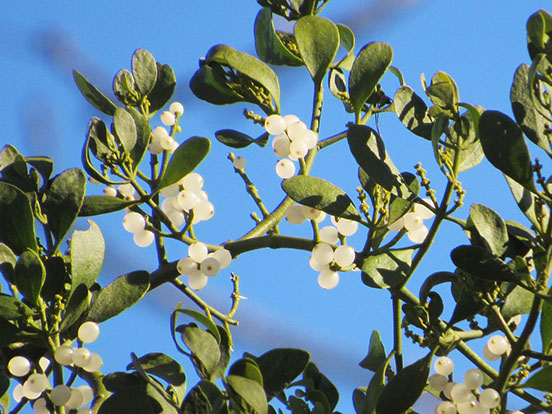
The December months were certainly the most informative for me and my family, featuring writings on Christmas tree health and traditions, and a shameless article of my Christmas list that elicited a chuckle and an eyebrow raise from my parents.
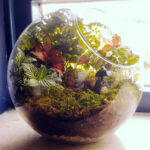
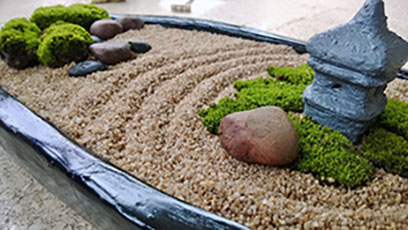
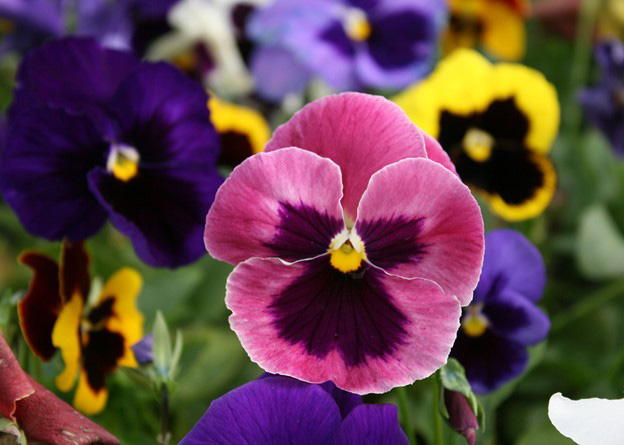
Further, with the excess of time at home granted by quarantine, I began my gardening journey with succulents and any cheap plants I could get my hands on and revive. My January article in 2021 revealed my pun skills and efforts at container gardening. Admittedly, container gardening herbs in the winter didn’t exactly yield healthy results…overwatering was my Achilles heel.
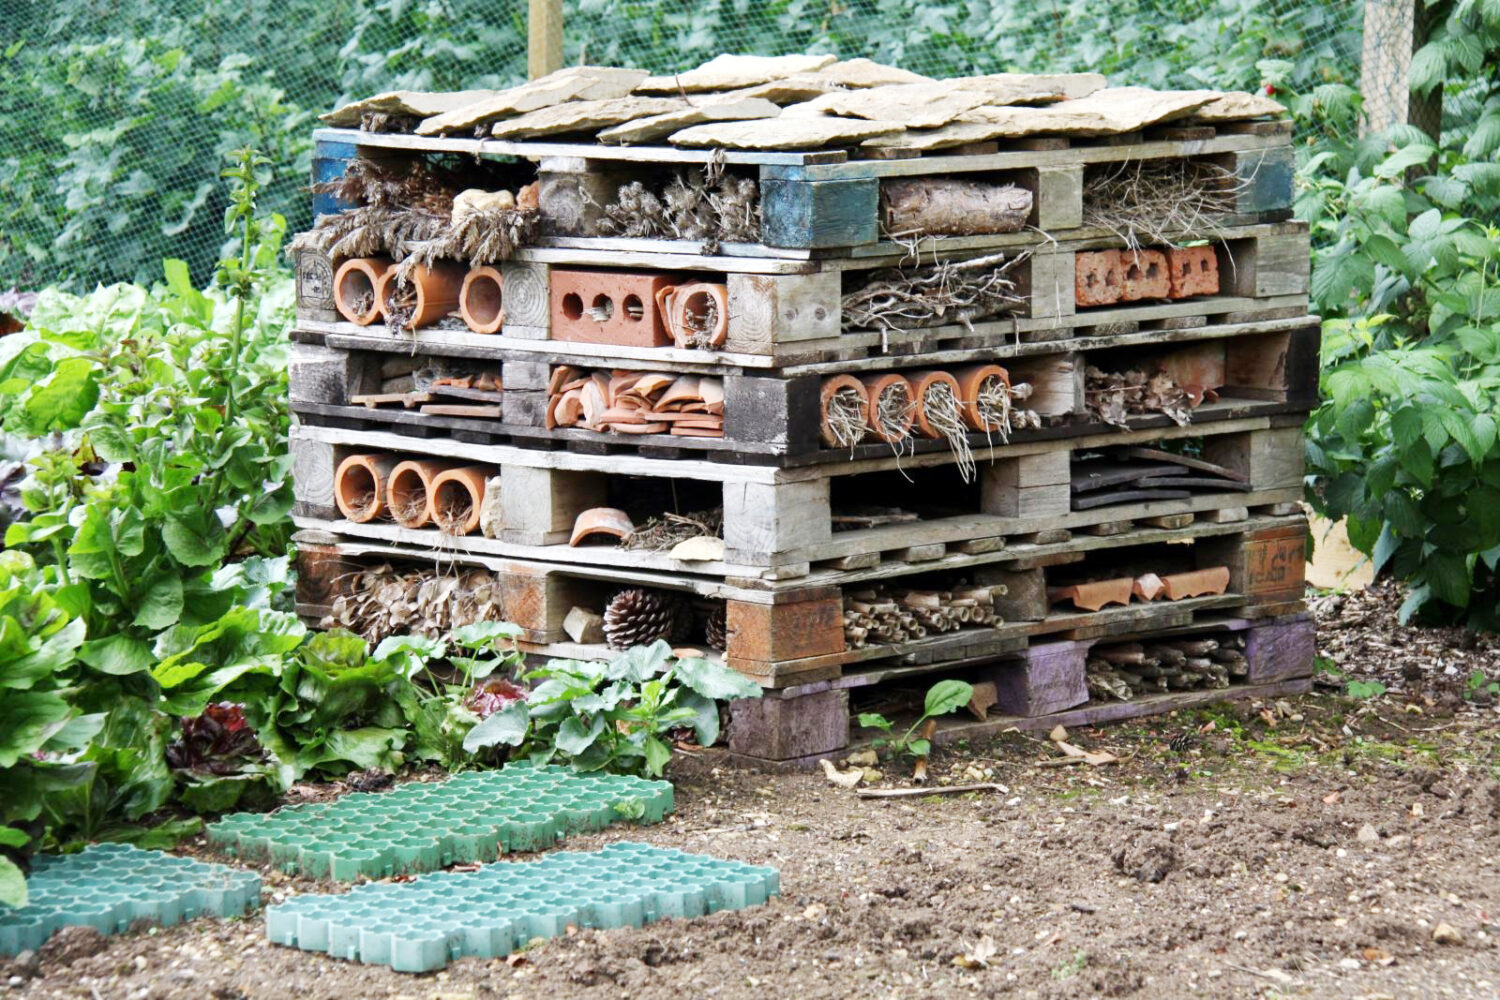
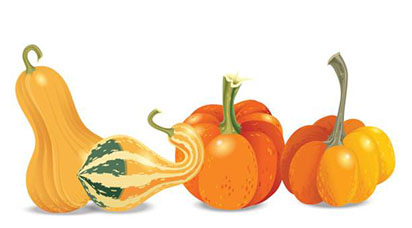
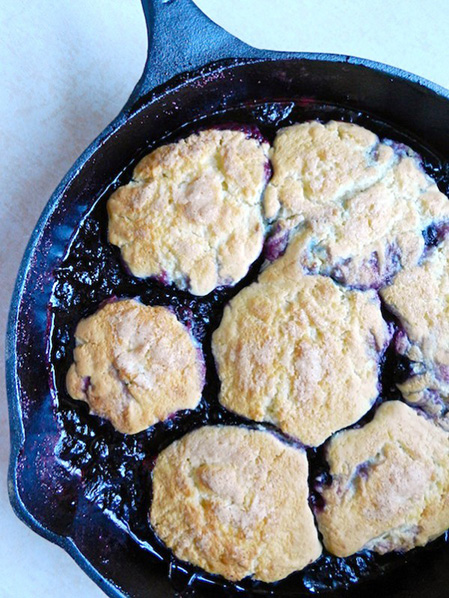
In the fall of 2021, I educated myself and wrote about bouquet composition and health. This rabbit hole of information led to the creation of decent-looking bouquets that I gave to family and friends (who were surprised. I’m not exactly known for being an artist in my family). Overall, I always enjoyed writing fall articles, integrating spooky and glamourous plants and decorations into my own decor.
Discovering new plants, foods, and ways to celebrate the holidays always added a novel sort of flair to the seasons (and helped me dredge up “original” gift-making ideas).
I truly enjoyed writing these articles, and I hope they made you think, laugh, maybe buy stuff, roll your eyes, rip the article to shreds, use it for papier mâché, stare at your plants for hours and ponder your existence, and appreciate the Earth a little bit more.
Many thanks to Deb Spalding, who accepted my column (and our new publisher, Alisha Yocum), and the Banner editors, who made such fantastic formatting with a mere jpeg link and an essay’s worth of words at times. To my sibling and my mom, who also proofread my works, so they were comprehensive and logical (I know my brain vomit isn’t the easiest thing to read, but you did great!). To planet Earth for providing life to me and the plants I so love. And, finally, to YOU for reading these ramblings, or at least glancing over my titles at some point in your life.
Keep giving love to your plants and garden valiantly and fearlessly!

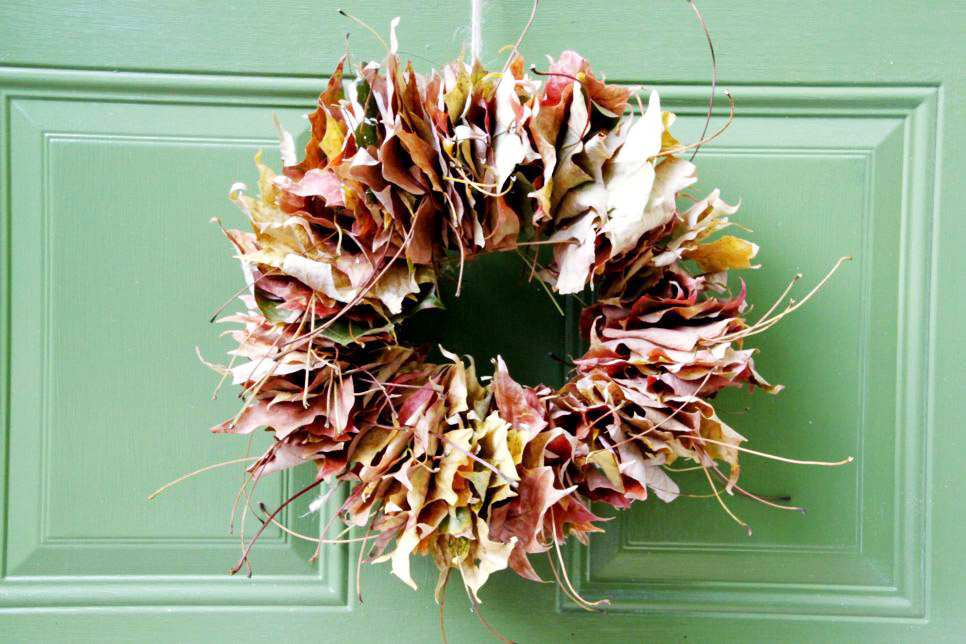
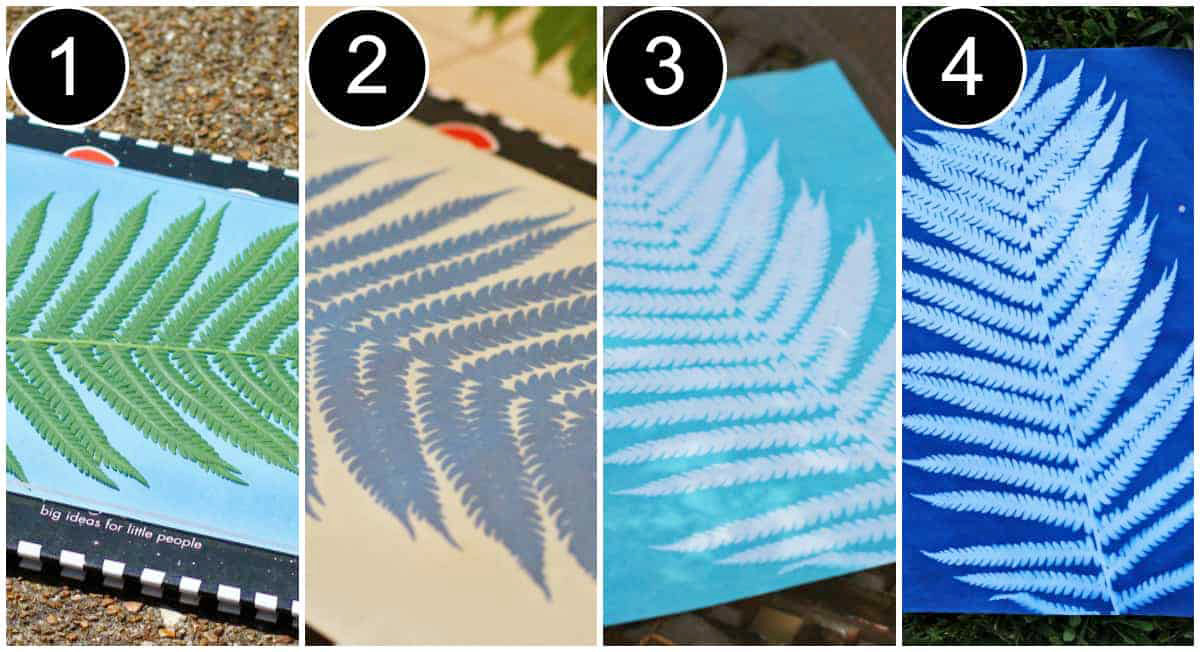
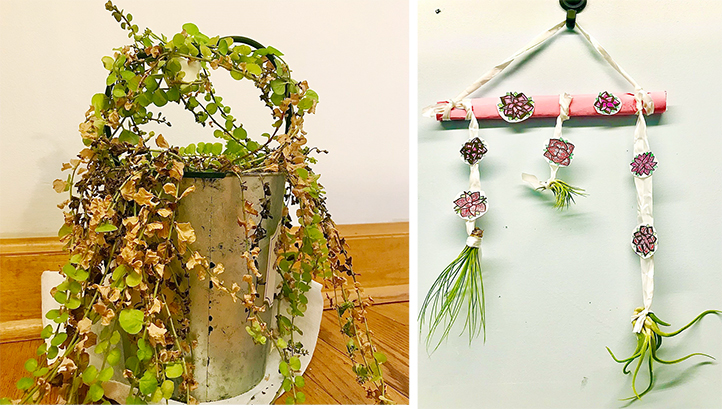
Organic Leaf Wreath, column featured in the 2023 October issue of the Banner